


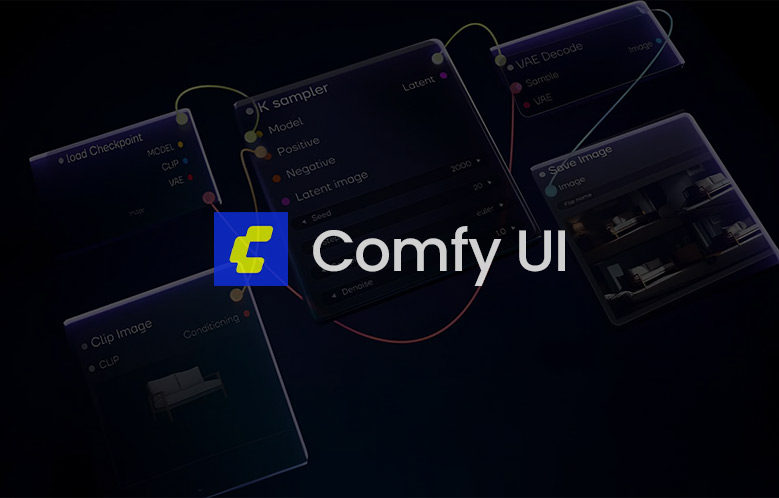
What is ComfyUI? Why do professionals use it instead of other graphical interfaces?
The world of generative AI is changing rapidly, and in the meantime, the tool ComfyUI has revolutionized Stable Diffusion as a node-based user interface. Unlike traditional graphical interfaces that offer options in the form of fixed menus, this tool allows you to design your image generation workflow like a tree diagram. Each part of the process, from model loading to the final output, is defined in the form of separate boxes, giving creators unparalleled control.
The main reason digital art and AI professionals are drawn to ComfyUI is its limitless flexibility. On other platforms, you are restricted to a specific and immutable structure, but here, you can customize every step. For example, combining multiple different models, applying intermediate filters, and fine-tuning the rendering process is easily achievable. This level of freedom allows professionals to implement their complex artistic ideas without software limitations and achieve their desired results.
In addition, ComfyUI is technically much more optimized than its competitors. By intelligently managing GPU memory, this application significantly increases the speed of image generation. Even on weaker systems, it is possible to generate high-quality, large-scale outputs without worrying about system crashes or slowdowns. The ability to save workflows as small files and share them easily is a major advantage that facilitates teamwork in projects.
The main difference between ComfyUI and Automatic1111; Why is this tool ideal for weaker graphics cards?
The biggest difference between ComfyUI and Automatic1111 lies in the way they manage temporary graphics card memory, or VRAM. While Automatic1111 attempts to execute commands monolithically and engages all system resources at once, its node-based rival, ComfyUI, breaks processes down into small sections. This smart division allows older or weaker hardware components to render and deliver high-quality output images without facing annoying out-of-memory errors.
Comparison of Technical and Performance Specifications of ComfyUI vs. Automatic1111:
| Performance Indicator | ComfyUI | Automatic1111 |
| Architecture and Structure | Node-based and dynamic tree diagrams | Traditional and based on sliders and tabs |
| Graphics Memory (VRAM) Consumption | Dynamic optimization and memory release after each step | Simultaneous loading of all models and prerequisites into memory |
| Performance on Weak Cards | High efficiency without out-of-memory errors | Performance drop and constant crashes in heavy processes |
| Process Customization Level | Absolute freedom in designing dedicated workflows | Limited to predefined settings and extensions |
Another amazing advantage of ComfyUI lies in its ability to temporarily cache workflow steps. This means that if you make a minor change to the final settings, the entire system does not need to reprocess from the very beginning; instead, only the modified section is rebuilt. This saving of time and resources removes unnecessary pressure from the graphics card. Therefore, designers with budget systems can advance their projects without a drop in performance or hardware overheating.
What is Node-based Architecture and How Does It Multiply Your Creative Power?
Node-based architecture is a modern method in user interface design where each step of the work is represented as a separate box or “node”. In this system, instead of clicking options hidden in menus, you connect different nodes—such as the AI model, prompt text, and output section—using lines. This visual representation allows you to see the flow of data with your eyes and easily understand how each part affects the final work.
The true power of this structure becomes apparent when you realize there are no rigid or fixed rules for the layout, and your creativity is completely free. By branching paths, you can send a base image to multiple completely different processing paths simultaneously to receive diverse outputs. This feature allows designers to test their bold ideas by combining different tools instead of dealing with common software limitations. In fact, this architecture elevates your mindset from a simple operator to a designer.
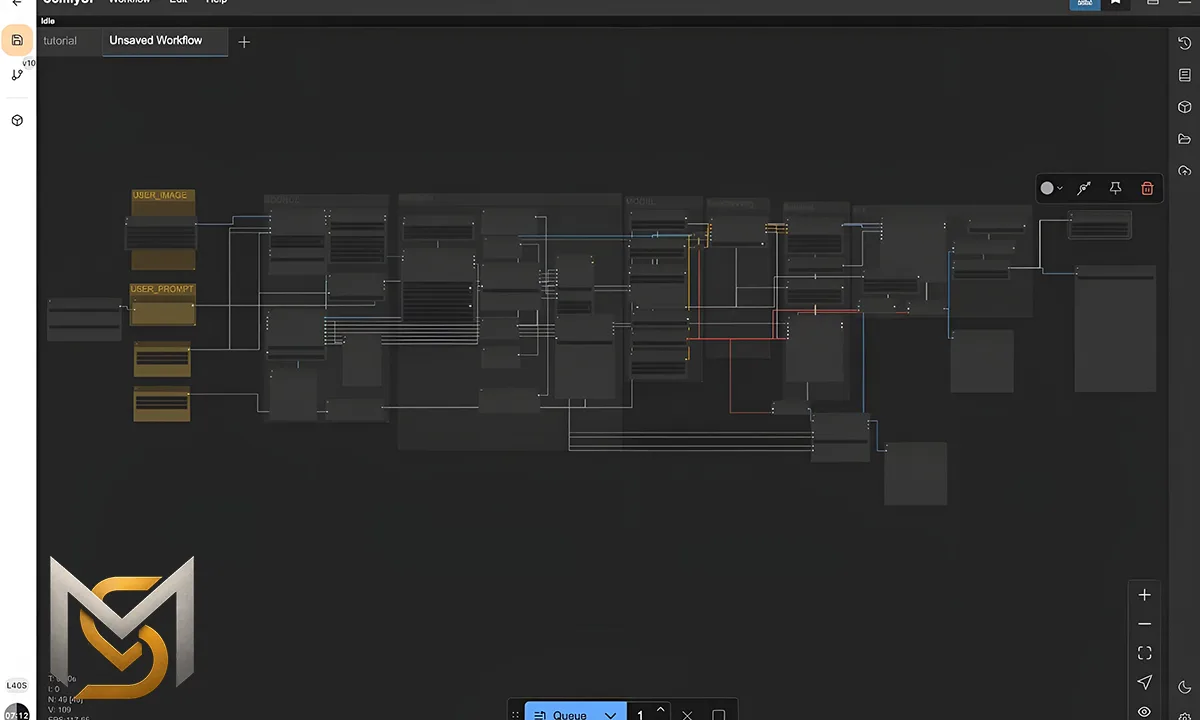
Benefits of Installing ComfyUI; Why Should We Switch to This Tool Today?
Entering the world of digital art and AI image generation requires a tool that offers speed, accuracy, and efficiency simultaneously. ComfyUI is more than just a simple user interface; it is an intelligent platform that significantly increases your workflow productivity. By installing this platform, you not only gain full access to the latest text-to-image models but also have a lightweight and dynamic environment that utilizes your system resources in the most optimal way to create artworks.
Key Benefits of Migrating to ComfyUI:
- Stunning VRAM Optimization: Smooth execution of heavy projects even on cheap and older graphics cards.
- Easy Workflow Sharing: Ability to save and load the entire design process simply by dragging and dropping an image into the application.
- Rapid Support for New Models: Instant compatibility with the latest AI advancements, such as various SDXL versions and newer models.
- Unlimited Process Customization: Complete freedom to connect and combine different nodes to construct entirely exclusive processing paths.
- Step-by-Step Execution and Error Management: Extremely fast troubleshooting due to the precise visualization of the error point in the workflow diagram.
In addition to the above, the active user community of this software daily develops new custom nodes and sub-tools that double its efficiency. This means you will never get stuck in the technical dead-ends of closed software and will always have access to the newest AI features. Migrating to this tool means investing in a skill that will become the primary standard of the image generation industry in the near future, upgrading your career opportunities.
Step-by-Step Download and Installation Tutorial of ComfyUI on Windows
Setting up ComfyUI on the Windows operating system is much simpler than you think, as its developers have provided a portable, ready-to-run version for users. To start this journey, you do not need deep programming knowledge or experience with command-line interfaces. Simply by downloading a compressed file and extracting it, you can easily run one of the most powerful AI tools on your computer. This step-by-step guide will help you set up this fascinating program in the shortest time possible without any trouble.
Step-by-Step Installation Steps of ComfyUI on Windows:
- Download the Portable Version: Go to the official ComfyUI GitHub project page and, in the installation section, get the download link for the Windows compressed version (Direct link to download).
- Extract the Downloaded File: Extract the downloaded file with the .7z extension using compression software like WinRAR or 7-Zip onto a drive with sufficient space (preferably an SSD drive).
- Transfer AI Models: Download model files or Checkpoints (such as SD 1.5 or SDXL models) with the .safetensors extension and place them in the ComfyUI/models/checkpoints path.
- Run the Software: Enter the extracted folder and, depending on your hardware, double-click the .bat file (for Nvidia cards) or run_cpu.bat (for processing without a graphics card).
One of the great features of the portable version is that all software dependencies, such as Python, are contained within the folder itself and do not interfere with other programs on your system. After the first run, your browser will open automatically, and the default software interface will appear. Now, everything is ready for you to successfully generate your first creative image. We suggest keeping your system updated using the available update files so you do not fall behind on new features.
How to Design Your First Workflow in ComfyUI?
When you enter the ComfyUI interface for the first time, you are greeted with a simple, default workflow that is the best starting point for learning. This initial path includes a few basic nodes: loading the model, writing positive and negative text prompts, adjusting image dimensions, and finally, the sampler and output display sections. To begin, simply select your model file in the starting node, write your desired descriptive text, and click the command execution button to start the image generation process.
Once you understand this simple cycle, you can challenge your creativity by adding newer and more advanced nodes. For example, by right-clicking on the empty canvas and searching for the word “Upscale”, you can connect an upscaling node to your output path to obtain larger images. Learning how to wire and connect the output of one node to the input of another is the key to building complex workflows. With a little practice, you can easily build your custom templates and save them for future projects.
Review of the Best Extensions (Custom Nodes) to Upgrade ComfyUI Capabilities
The real power of ComfyUI is revealed when you realize that its structure is designed to accept side extensions or custom nodes. These tools, developed by the programming community, add new capabilities to the application that are not available by default. From advanced layer management tools to motion control systems in video, all are accessible through these extensions. Installing these helper tools allows you to break default software limits and advance your projects more professionally.
The first and most critical extension every user should install on their system is the extension management tool, ComfyUI Manager. This powerful tool allows you to search for and install required nodes directly from within the program interface without needing to manually download files from GitHub. Also, if you download a ready-made workflow that includes unknown nodes, this extension automatically detects the missing components and installs them for you.
In addition to the management tool, other specialized extensions like ControlNet and IP-Adapter bring new dimensions to the image creation process. For instance, with the help of these tools, you can accurately apply the pose of a human figure or the color style of a reference image to your work. Using these custom nodes helps professional designers maintain full control over every detail of the output instead of relying on luck with random image generation, delivering their clients’ custom projects with the highest possible quality.
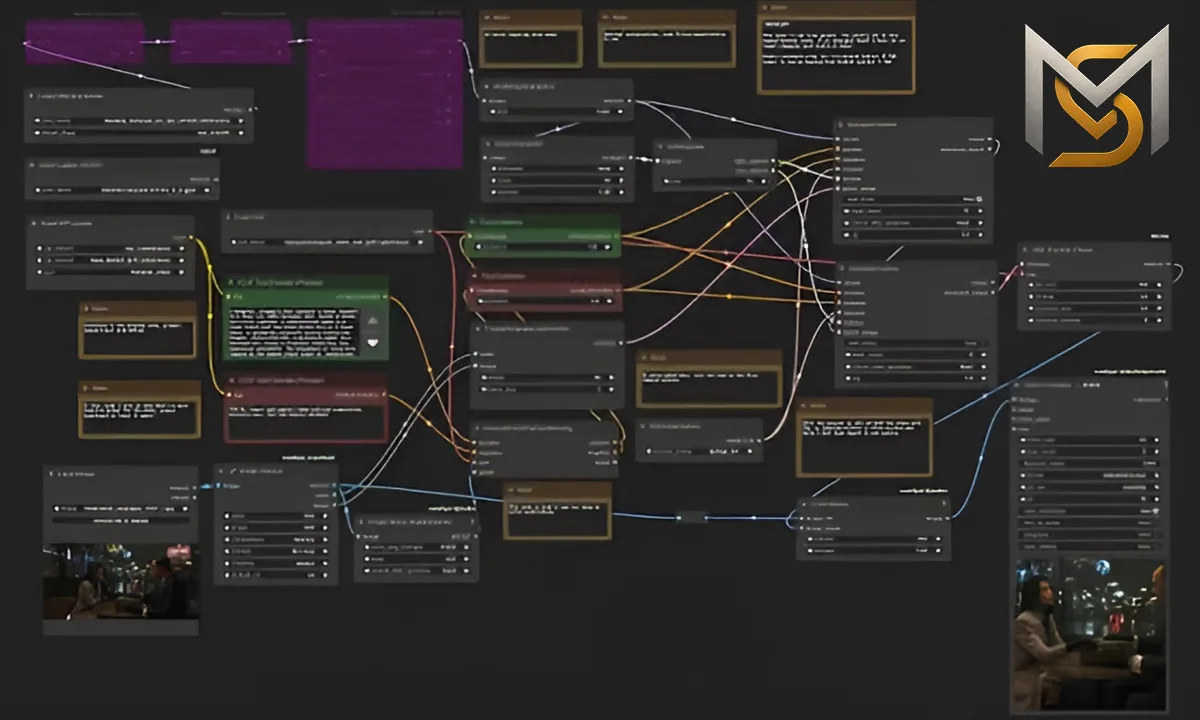
Managing AI Models in ComfyUI; How to Optimize Storage Space?
Working with various AI models, such as large checkpoint and LoRA files, can quickly fill up your hard drive space. Fortunately, ComfyUI has a clever solution to solve this problem, which allows users to share their model paths with other applications like Automatic1111. By simply editing the extra_model_paths.yaml configuration file in the application’s root directory, you can use a shared source without copying multi-gigabyte files, preventing the waste of dozens of gigabytes of system storage space.
In addition to storage management, optimizing graphics memory at runtime is of high importance. You can adjust model loading to suit your system’s power by using command-line arguments, such as memory-reduction commands. Using models with lighter formats like the half-precision version (FP16) helps you double processing speeds and prevent constant graphics card crashes without a noticeable reduction in output image quality.
Challenges of Learning ComfyUI; How to Master It in the Shortest Time?
The learning path for innovative tools is always accompanied by initial challenges, and ComfyUI is no exception. When you first encounter the empty screen and intersecting lines of this program, you might feel confused. Unlike standard programs, this tool has no pre-made buttons and forces you to think algorithmically. However, overcoming this initial fear and understanding how nodes connect is the key to entering the professional world of AI illustration, which makes the effort worthwhile.
Common Challenges in Learning ComfyUI:
- Unusual User Interface: Lack of traditional menus and the need to learn a visual, node-based system.
- Understanding Input and Output Connections: Need to precisely understand data types (such as Latent, Image, Model) to connect nodes correctly.
- Vague System Errors: Difficulty in troubleshooting errors in case of disconnected lines or incompatible custom nodes.
- Extension Management: Learning how to manually install and update numerous custom nodes on the system.
To master this tool quickly, the best approach is to use other people’s ready-made workflows and reverse engineer them. You can download image files created by experienced designers and drag them into the software to copy and analyze their tree structure. Starting with minor changes in pre-made templates helps you gradually become familiar with the role of each node without needing to learn all the basic concepts at once, enabling you to create your own workflows in a short time.
Combining ComfyUI with Other Tools; Creating an Ultra-Professional Image Generation Pipeline
To achieve commercial and amazing results, you should not limit yourself to using a single tool. The real power is revealed when you place ComfyUI as the image processing engine alongside major design software like Photoshop or Blender. For example, you can prepare your initial 3D models in Blender and then feed them directly into the AI cycle via custom nodes, applying realistic textures and lighting to your models in a fraction of a second.
Furthermore, combining this software with video editing and post-production tools such as Premiere and After Effects provides you with a dynamic animation production line. You can edit your video drafts using motion control nodes in ComfyUI and return the stabilized outputs to the editing software. This continuous and smart workflow eliminates the time-consuming traditional rendering process and dramatically reduces the execution time of complex studio projects.
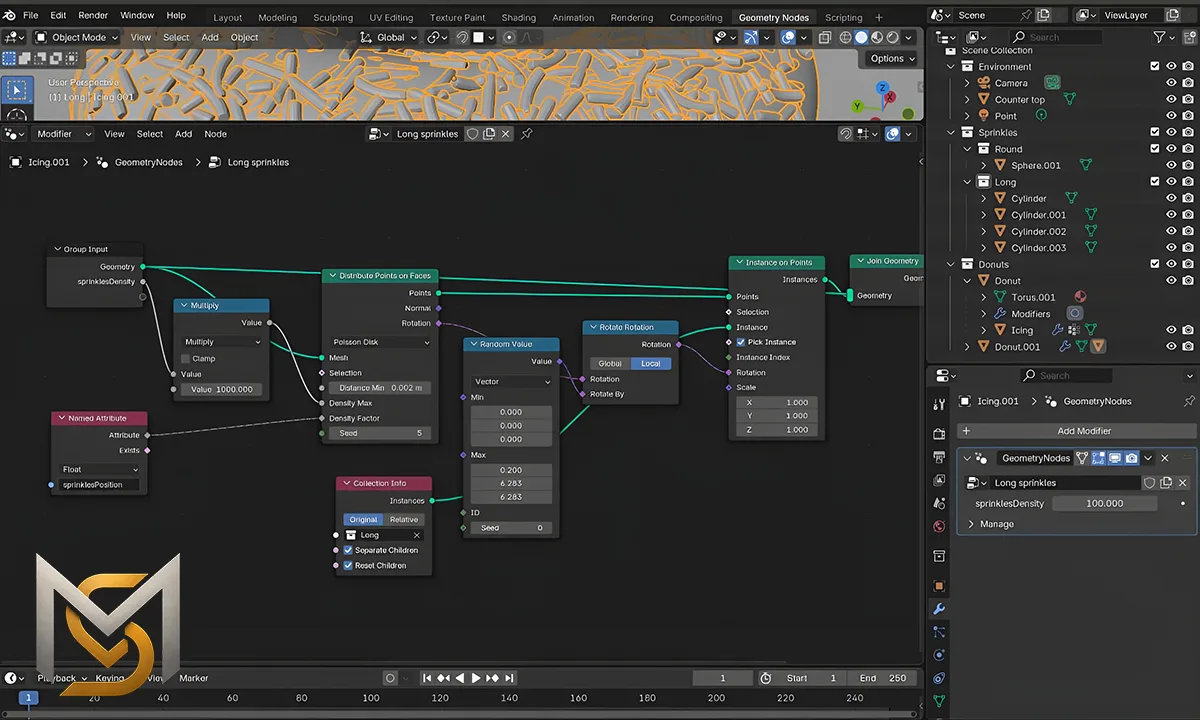
Conclusion; Is ComfyUI the Future of AI Graphical Content Creation?
Reviewing all the discussed features, it can be said that ComfyUI is not merely an auxiliary tool, but the dawn of a new era in digital design. The unprecedented flexibility of this platform, along with excellent optimization of system resources, has defined new standards for the AI industry. Although simpler user interfaces are suitable for quick and casual projects, the need for precise, node-based control is undeniable for industrial and commercial production. Therefore, mastering this tool is a smart investment for the future career of any designer.
Ultimately, AI has transformed the path of creativity, and the winners of this game are those who can redesign their tools to fit their needs. The node-based platform in question gives you exactly this power to create without limits. Given the rapid development pace and the unmatched support of the developer community, ComfyUI will undoubtedly cement its place as the primary standard for graphical content creation. Therefore, we suggest you start learning it without hesitation and elevate your creativity to a new level.
To download ComfyUI, use the project’s GitHub page.
What is ComfyUI? Why do professionals use it instead of other graphical interfaces?
The world of generative AI is changing rapidly, and in the meantime, the tool ComfyUI has revolutionized Stable Diffusion as a node-based user interface. Unlike traditional graphical interfaces that offer options in the form of fixed menus, this tool allows you to design your image generation workflow like a tree diagram. Each part of the process, from model loading to the final output, is defined in the form of separate boxes, giving creators unparalleled control.
The main reason digital art and AI professionals are drawn to ComfyUI is its limits-free flexibility. On other platforms, you are restricted to a specific and immutable structure, but here, you can customize every step. For example, combining multiple different models, applying intermediate filters, and fine-tuning the rendering process is easily achievable. This level of freedom allows professionals to implement their complex artistic ideas without software limitations and achieve their desired results.
In addition, ComfyUI is technically much more optimized than its competitors. By intelligently managing GPU memory, this application significantly increases the speed of image generation. Even on weaker systems, it is possible to generate high-quality, large-scale outputs without worrying about system crashes or slowdowns. The ability to save workflows as small files and share them easily is a major advantage that facilitates teamwork in projects.
The main difference between ComfyUI and Automatic1111; Why is this tool ideal for weaker graphics cards?
The biggest difference between ComfyUI and Automatic1111 lies in the way they manage temporary graphics card memory, or VRAM. While Automatic1111 attempts to execute commands monolithically and engages all system resources at once, its node-based rival, ComfyUI, breaks processes down into small sections. This smart division allows older or weaker hardware components to render and deliver high-quality output images without facing annoying out-of-memory errors.
Comparison of Technical and Performance Specifications of ComfyUI vs. Automatic1111:
| Performance Indicator | ComfyUI | Automatic1111 |
| Architecture and Structure | Node-based and dynamic tree diagrams | Traditional and based on sliders and tabs |
| Graphics Memory (VRAM) Consumption | Dynamic optimization and memory release after each step | Simultaneous loading of all models and prerequisites into memory |
| Performance on Weak Cards | High efficiency without out-of-memory errors | Performance drop and constant crashes in heavy processes |
| Process Customization Level | Absolute freedom in designing dedicated workflows | Limited to predefined settings and extensions |
Another amazing advantage of ComfyUI lies in its ability to temporarily cache workflow steps. This means that if you make a minor change to the final settings, the entire system does not need to reprocess from the very beginning; instead, only the modified section is rebuilt. This saving of time and resources removes unnecessary pressure from the graphics card. Therefore, designers with budget systems can advance their projects without a drop in performance or hardware overheating.
What is Node-based Architecture and How Does It Multiply Your Creative Power?
Node-based architecture is a modern method in user interface design where each step of the work is represented as a separate box or “node”. In this system, instead of clicking options hidden in menus, you connect different nodes—such as the AI model, prompt text, and output section—using lines. This visual representation allows you to see the flow of data with your eyes and easily understand how each part affects the final work.
The true power of this structure becomes apparent when you realize there are no rigid or fixed rules for the layout, and your creativity is completely free. By branching paths, you can send a base image to multiple completely different processing paths simultaneously to receive diverse outputs. This feature allows designers to test their bold ideas by combining different tools instead of dealing with common software limitations. In fact, this architecture elevates your mindset from a simple operator to a designer.
Benefits of Installing ComfyUI; Why Should We Switch to This Tool Today?
Entering the world of digital art and AI image generation requires a tool that offers speed, accuracy, and efficiency simultaneously. ComfyUI is more than just a simple user interface; it is an intelligent platform that significantly increases your workflow productivity. By installing this platform, you not only gain full access to the latest text-to-image models but also have a lightweight and dynamic environment that utilizes your system resources in the most optimal way to create artworks.
Key Benefits of Migrating to ComfyUI:
- Stunning VRAM Optimization: Smooth execution of heavy projects even on cheap and older graphics cards.
- Easy Workflow Sharing: Ability to save and load the entire design process simply by dragging and dropping an image into the application.
- Rapid Support for New Models: Instant compatibility with the latest AI advancements, such as various SDXL versions and newer models.
- Unlimited Process Customization: Complete freedom to connect and combine different nodes to construct entirely exclusive processing paths.
- Step-by-Step Execution and Error Management: Extremely fast troubleshooting due to the precise visualization of the error point in the workflow diagram.
In addition to the above, the active user community of this software daily develops new custom nodes and sub-tools that double its efficiency. This means you will never get stuck in the technical dead-ends of closed software and will always have access to the newest AI features. Migrating to this tool means investing in a skill that will become the primary standard of the image generation industry in the near future, upgrading your career opportunities.
Step-by-Step Download and Installation Tutorial of ComfyUI on Windows
Setting up ComfyUI on the Windows operating system is much simpler than you think, as its developers have provided a portable, ready-to-run version for users. To start this journey, you do not need deep programming knowledge or experience with command-line interfaces. Simply by downloading a compressed file and extracting it, you can easily run one of the most powerful AI tools on your computer. This step-by-step guide will help you set up this fascinating program in the shortest time possible without any trouble.
Step-by-Step Installation Steps of ComfyUI on Windows:
- Download the Portable Version: Go to the official ComfyUI GitHub project page and, in the installation section, get the download link for the Windows compressed version (Direct link to download).
- Extract the Downloaded File: Extract the downloaded file with the .7z extension using compression software like WinRAR or 7-Zip onto a drive with sufficient space (preferably an SSD drive).
- Transfer AI Models: Download model files or Checkpoints (such as SD 1.5 or SDXL models) with the .safetensors extension and place them in the ComfyUI/models/checkpoints path.
- Run the Software: Enter the extracted folder and, depending on your hardware, double-click the .bat file (for Nvidia cards) or run_cpu.bat (for processing without a graphics card).
One of the great features of the portable version is that all software dependencies, such as Python, are contained within the folder itself and do not interfere with other programs on your system. After the first run, your browser will open automatically, and the default software interface will appear. Now, everything is ready for you to successfully generate your first creative image. We suggest keeping your system updated using the available update files so you do not fall behind on new features.
How to Design Your First Workflow in ComfyUI?
When you enter the ComfyUI interface for the first time, you are greeted with a simple, default workflow that is the best starting point for learning. This initial path includes a few basic nodes: loading the model, writing positive and negative text prompts, adjusting image dimensions, and finally, the sampler and output display sections. To begin, simply select your model file in the starting node, write your desired descriptive text, and click the command execution button to start the image generation process.
Once you understand this simple cycle, you can challenge your creativity by adding newer and more advanced nodes. For example, by right-clicking on the empty canvas and searching for the word “Upscale”, you can connect an upscaling node to your output path to obtain larger images. Learning how to wire and connect the output of one node to the input of another is the key to building complex workflows. With a little practice, you can easily build your custom templates and save them for future projects.
Review of the Best Extensions (Custom Nodes) to Upgrade ComfyUI Capabilities
The real power of ComfyUI is revealed when you realize that its structure is designed to accept side extensions or custom nodes. These tools, developed by the programming community, add new capabilities to the application that are not available by default. From advanced layer management tools to motion control systems in video, all are accessible through these extensions. Installing these helper tools allows you to break default software limits and advance your projects more professionally.
The first and most critical extension every user should install on their system is the extension management tool, ComfyUI Manager. This powerful tool allows you to search for and install required nodes directly from within the program interface without needing to manually download files from GitHub. Also, if you download a ready-made workflow that includes unknown nodes, this extension automatically detects the missing components and installs them for you.
In addition to the management tool, other specialized extensions like ControlNet and IP-Adapter bring new dimensions to the image creation process. For instance, with the help of these tools, you can accurately apply the pose of a human figure or the color style of a reference image to your work. Using these custom nodes helps professional designers maintain full control over every detail of the output instead of relying on luck with random image generation, delivering their clients’ custom projects with the highest possible quality.
Managing AI Models in ComfyUI; How to Optimize Storage Space?
Working with various AI models, such as large checkpoint and LoRA files, can quickly fill up your hard drive space. Fortunately, ComfyUI has a clever solution to solve this problem, which allows users to share their model paths with other applications like Automatic1111. By simply editing the extra_model_paths.yaml configuration file in the application’s root directory, you can use a shared source without copying multi-gigabyte files, preventing the waste of dozens of gigabytes of system storage space.
In addition to storage management, optimizing graphics memory at runtime is of high importance. You can adjust model loading to suit your system’s power by using command-line arguments, such as memory-reduction commands. Using models with lighter formats like the half-precision version (FP16) helps you double processing speeds and prevent constant graphics card crashes without a noticeable reduction in output image qua


Leave a Comment